Can You Paint Over Varnished Wood? Helpful Tips and Step-by-Step Guide
Whether you're an avid antique or flea market shopper or have inherited old varnished wood furniture, many homeowners wonder if they can paint over varnished wood to give their furniture or kitchen cabinets a fresh look.
Much of the varnished furniture and cabinetry in our homes is high-quality and in excellent condition but might be in dire need of a modern touch. With the correct supplies and a bit of effort, you can transform these iconic pieces into something new and stylish.
Refresh your varnished wood pieces with a coat of paint for an instant elevated transformation. Painting over varnished wood does require some preparation and the right materials. Sanding, priming, and choosing the right type of paint are crucial steps to ensure a smooth and durable finish.
The professional painters at
VanDerKolk Painting have created a guide that will walk you through the supplies needed, the method, and a detailed step-by-step process to achieve the best results.
What is Varnished Wood?
Varnished wood is essentially wood that has been coated with a protective, glossy layer. This varnish not only enhances the wood's appearance but also provides a durable shield against moisture and damage.
To
determine if your wood is varnished, you can use a simple test. Dab a cotton swab in acetone and rub it on the wood's surface. If the finish becomes sticky or tacky, the wood is varnished. This quick test helps you identify the type of finish, allowing you to select the proper preparation method for painting.
Can You Paint Over Varnished Wood?
Yes, you can paint over varnished wood! With the right products and methods, you can paint over your varnished wood furniture, kitchen cabinets, or doors to give your home a fresh, modern look.
How to Paint Over Varnished Wood
If your next weekend project is to paint over varnished wood, then make sure you follow these steps and get the right supplies.
Step 1: Clean the Surface
Before you begin painting, make sure the surface of the varnished wood is thoroughly cleaned. Dust and debris can prevent the paint from adhering properly. Use a damp cloth to wipe down the wood, removing dirt particles. You can use a mild detergent and water for this.
It's also important to inspect the wood for any damage. If you notice cracks or chips, now is the time to make repairs. Fill any gaps or imperfections with wood filler and allow it to dry completely.
Taking these steps ensures a clean, even base for your paint. Careful preparation at this stage will contribute to a professional and long-lasting finish.
Step 2: Sand Away the Varnish
The next step is to remove the varnish finish from the surface. Start with 120-150 grit sandpaper to effectively remove the varnish finish from the wood. This grit level strikes a balance between aggressiveness and control, ensuring you don't damage the wood surface.
Sand in the direction of the grain to avoid scratches.
After sanding, clean the surface thoroughly to remove all dust. Use a vacuum with a brush attachment for the best results. Follow up with a slightly damp cloth to wipe away any residual particles.
Ensuring the wood is clean will help the primer and paint adhere better, resulting in a smoother and more durable finish.
Step 3: Apply Primer
Apply a coat of primer to the sanded wood surface. This ensures the new paint adheres properly. Choose a high-quality primer designed for varnished surfaces for the best results. Allow the primer to dry for at least 24 hours.
If you’re using oil-based paint, opt for an oil-based primer. For water or latex paint, use a latex primer instead. This step is crucial for a smooth and durable finish.
Be patient and give the primer enough time to dry completely before moving on to the painting stage.
Step 4: Lightly Sand Primer
If you notice visible brush strokes after applying the primer, you have the option to lightly sand the area. This helps achieve a smooth finish. Use fine-grit sandpaper for this task.
After sanding, make sure to wipe away any dust with a clean, damp cloth. Proper preparation will ensure that your final paint layer looks professional and flawless.
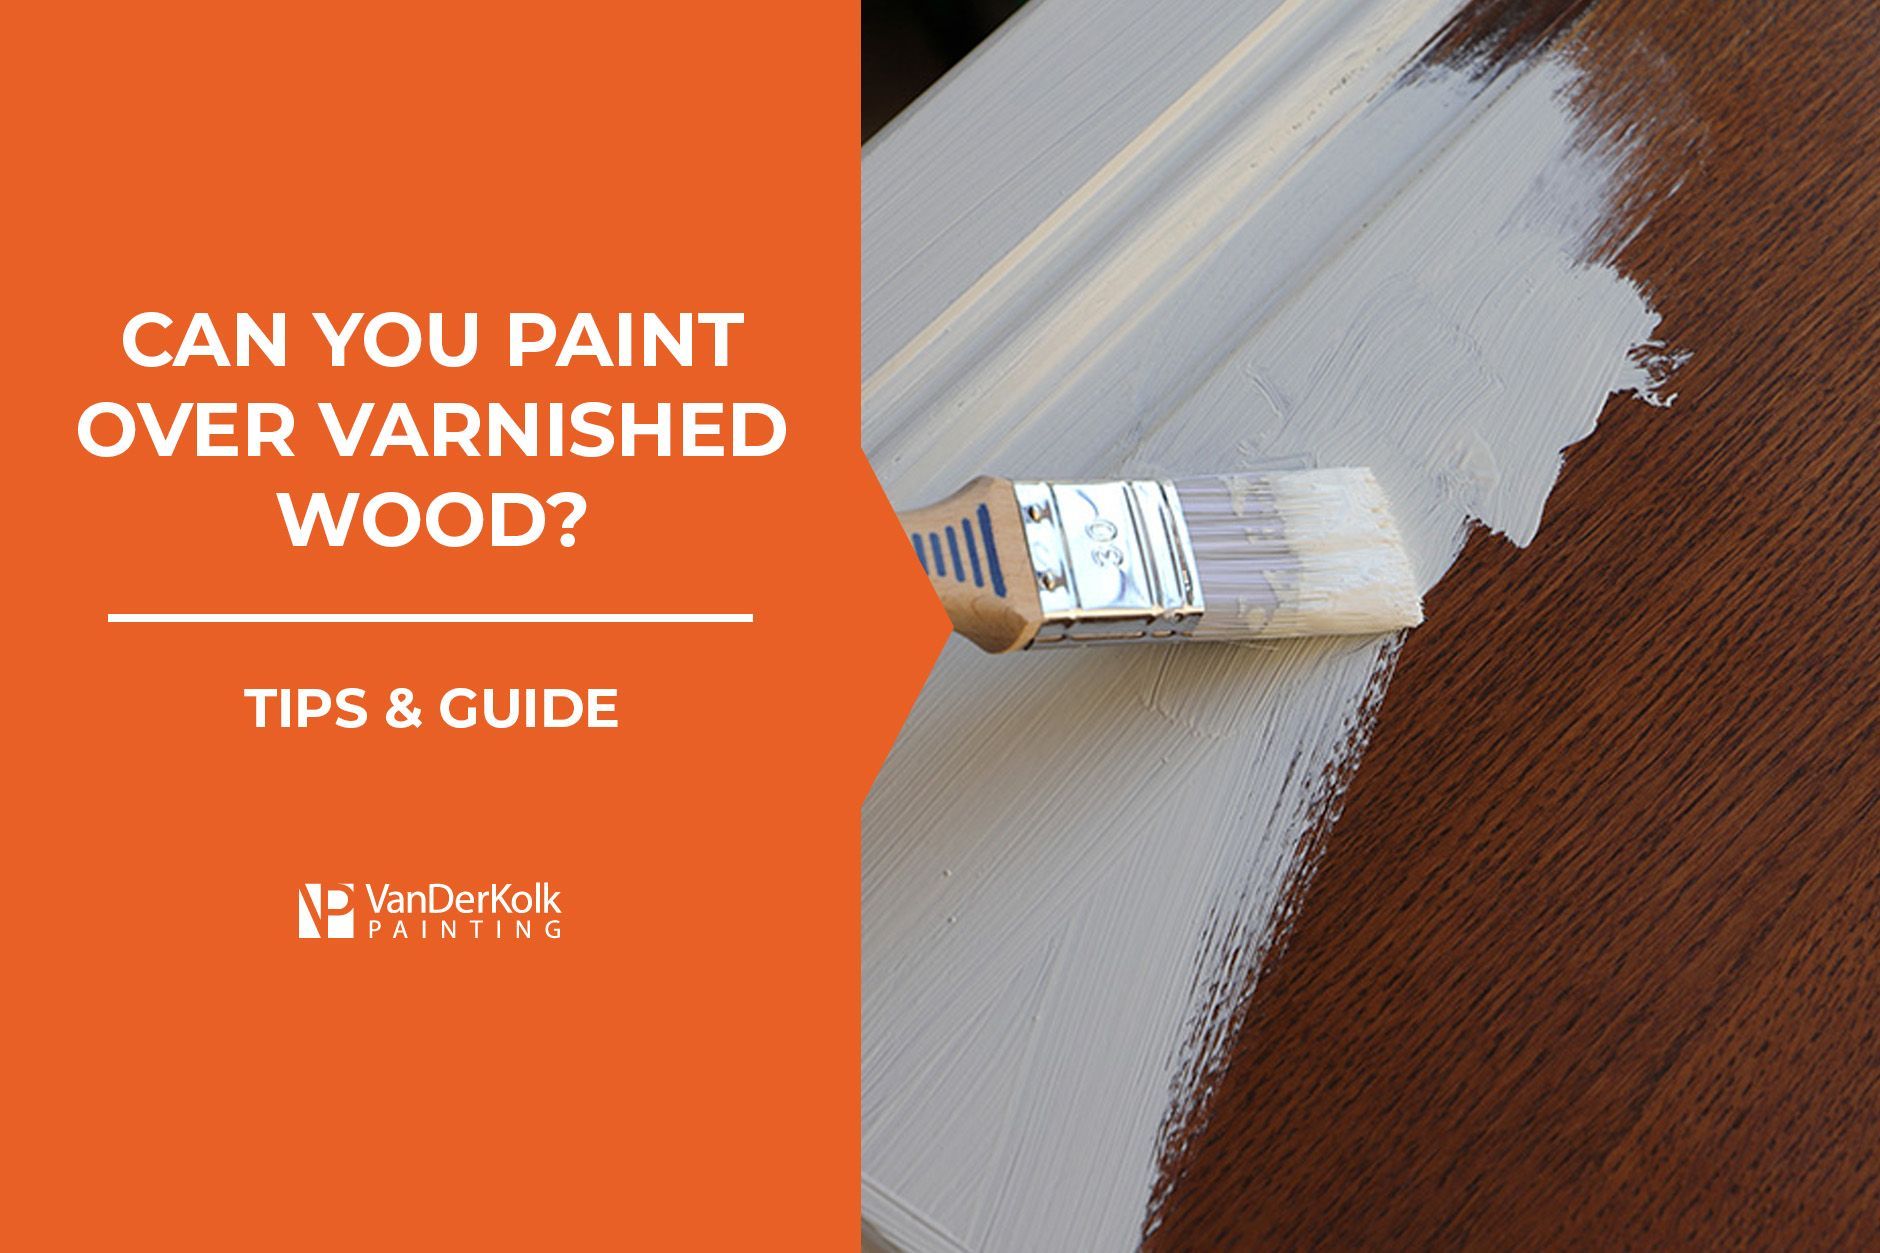
Step 5: Apply Paint Coats
Now, it's time to apply two coats of paint. Stir your paint thoroughly before using it. Paint the first coat evenly and watch for drips and runs. Let this coat dry completely before applying the second one.
Check the paint manufacturer's instructions for the recommended
drying time between coats. This usually ranges from a few hours to overnight. Watch as your old varnished wood piece of furniture transforms into something chic, sleek, and modern.
Step 6: Add a Topcoat
Once your paint has dried, consider adding a topcoat. This optional step can enhance the durability and finish of your work. Whether you choose a glossy, satin, or matte topcoat, it will provide additional protection and a professional look. Applying two coats with proper drying time in between will ensure the best results.
What Kind of Paint Should You Use to Paint Over Varnished Wood?
When painting over varnished wood, you have the option to use either oil-based or water-based paint.
Oil-based paint offers durability but requires proper ventilation due to
its strong fumes. Make sure to work in a well-ventilated area or use a respirator.
On the other hand, water-based paint is easier to clean up and has fewer fumes, making it more user-friendly.
Regardless of your choice, select a paint specifically designed for wood surfaces to ensure optimal adhesion and a smooth finish.
What Happens if You Paint Over Varnished Wood?
Skipping proper preparation when painting over varnished wood can lead to significant issues. One main problem is poor paint adhesion, causing the paint to peel or chip over time. This often results in an unsightly and uneven finish.
However, with adequate preparation, such as cleaning, sanding, and priming, you can effectively paint over varnished wood. Proper prep ensures the new paint bonds well to the surface, giving you a smooth and long-lasting finish.
Can You Remove Varnish Without Sanding?
Yes, it's possible to remove varnish without sanding. You can strip the wood using a heat gun or solvents. A heat gun softens the varnish for easier scraping, while solvents dissolve it. Both methods save time and effort compared to sanding.
Always follow safety guidelines and ensure proper ventilation when using these tools. Consider wearing protective gear to avoid any health risks from fumes or heat-related injuries.
Allow VanDerKolk Painting To Do The Painting For You
With proper preparation, painting over varnished wood can refresh your space beautifully. From selecting the right supplies to following each step meticulously, you can achieve a flawless finish. For those in the Grand Rapids area seeking professional painting assistance and precision, VanDerKolk Painting is here to help!
We can tackle a variety of different
residential painting projects, including painting over varnished wood
kitchen cabinetry, ensuring high-quality results. Elevate your home’s interior with our skilled team and enjoy a timeless transformation.
Request a free estimate for your next residential painting project today!
Request A Free Quote
Our Services
Residential Services
Commercial & Industrial Services