The #1 Trusted Grand Rapids Painting Company

Commercial, Industrial, & Residential Painting Services

Serving Grand Rapids, Holland, Grand Haven, Kalamazoo, East Lansing, Muskegon & Beyond

CONTACT US

Your Trusted Painters In Grand Rapids

VanDerKolk Painting has been serving West Michigan since 1991. In that time, we’ve earned a reputation for providing exceptional commercial, industrial, and residential painting services. 

A blue sign that says bbb accredited business and a+ rating
Expertise.com best painters in grand rapids award for 2023
A circle with the words `` 30+ years '' inside of it.
A member of painting and decorating contractors of america badge.

About VanDerKolk Painting

VanDerKolk Painting provides superior painting services to the communities of West Michigan through an emphasis on customer service, craftsmanship, and unparalleled professionalism in the painting industry.

Our Guarantee

When the project is complete, you have the peace of mind knowing that we warranty all of our work.

READ MORE

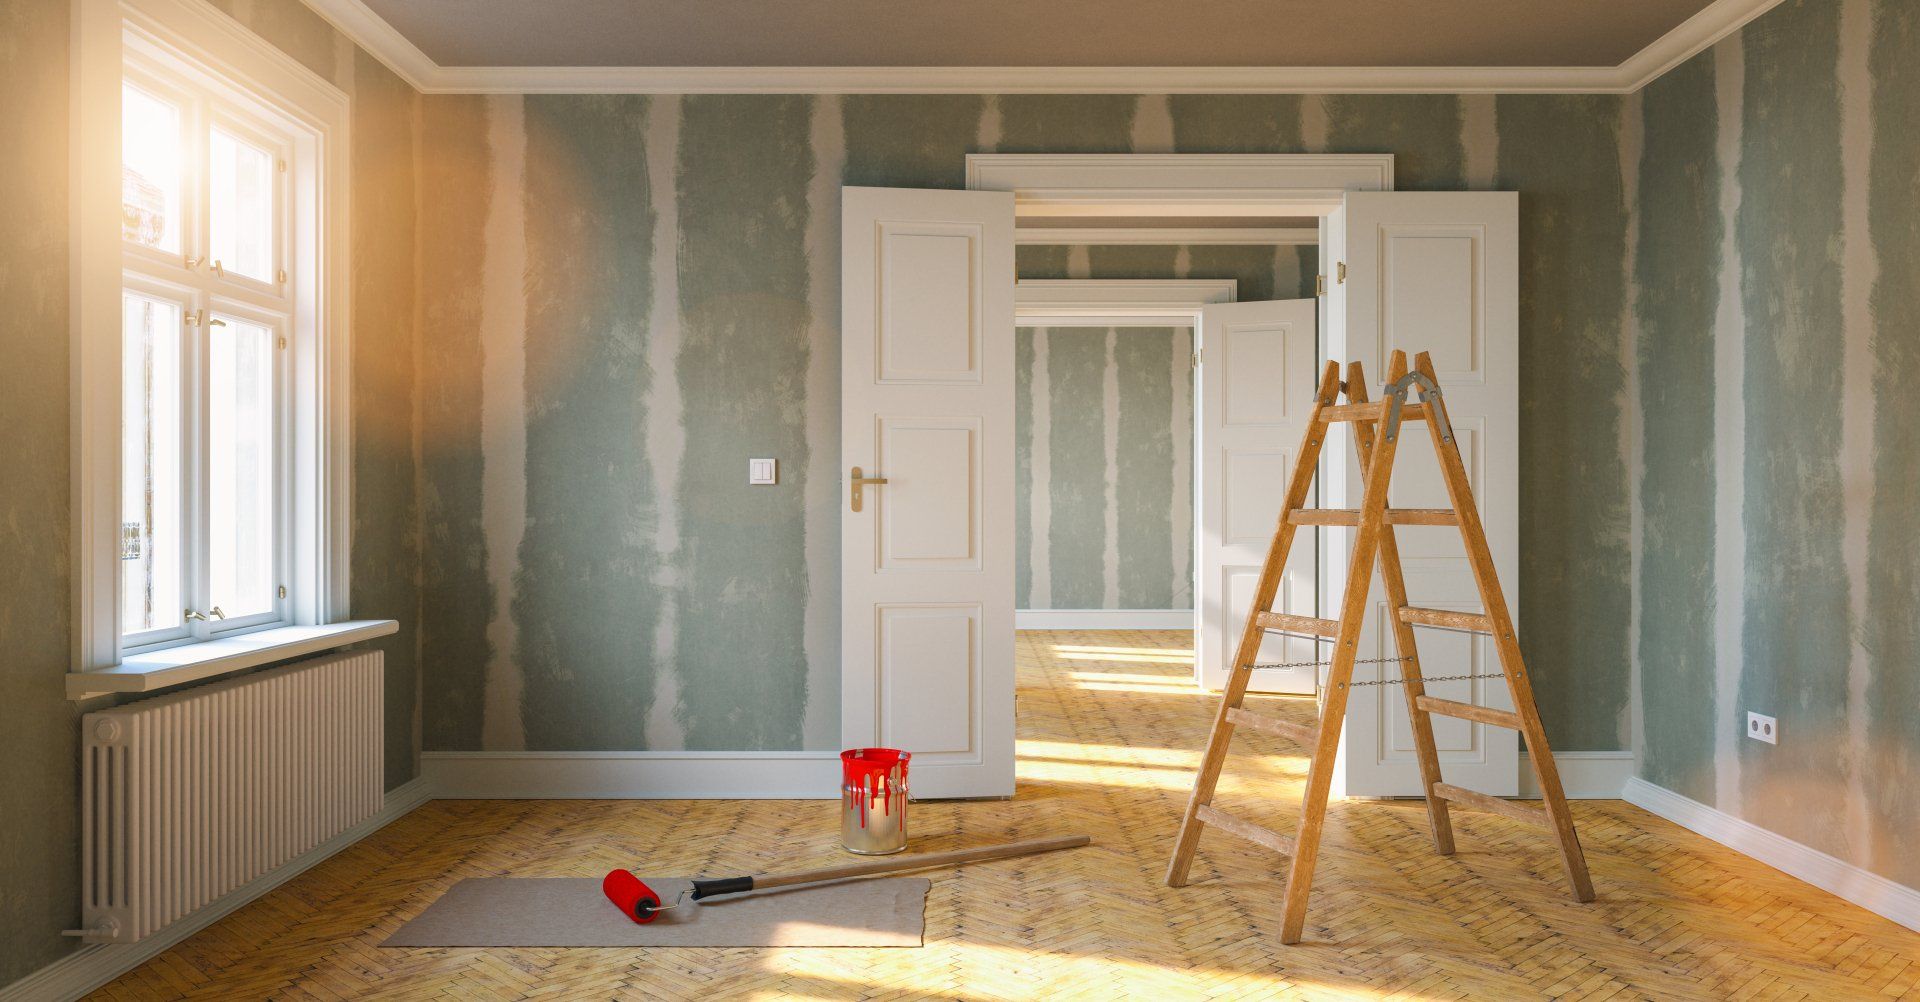
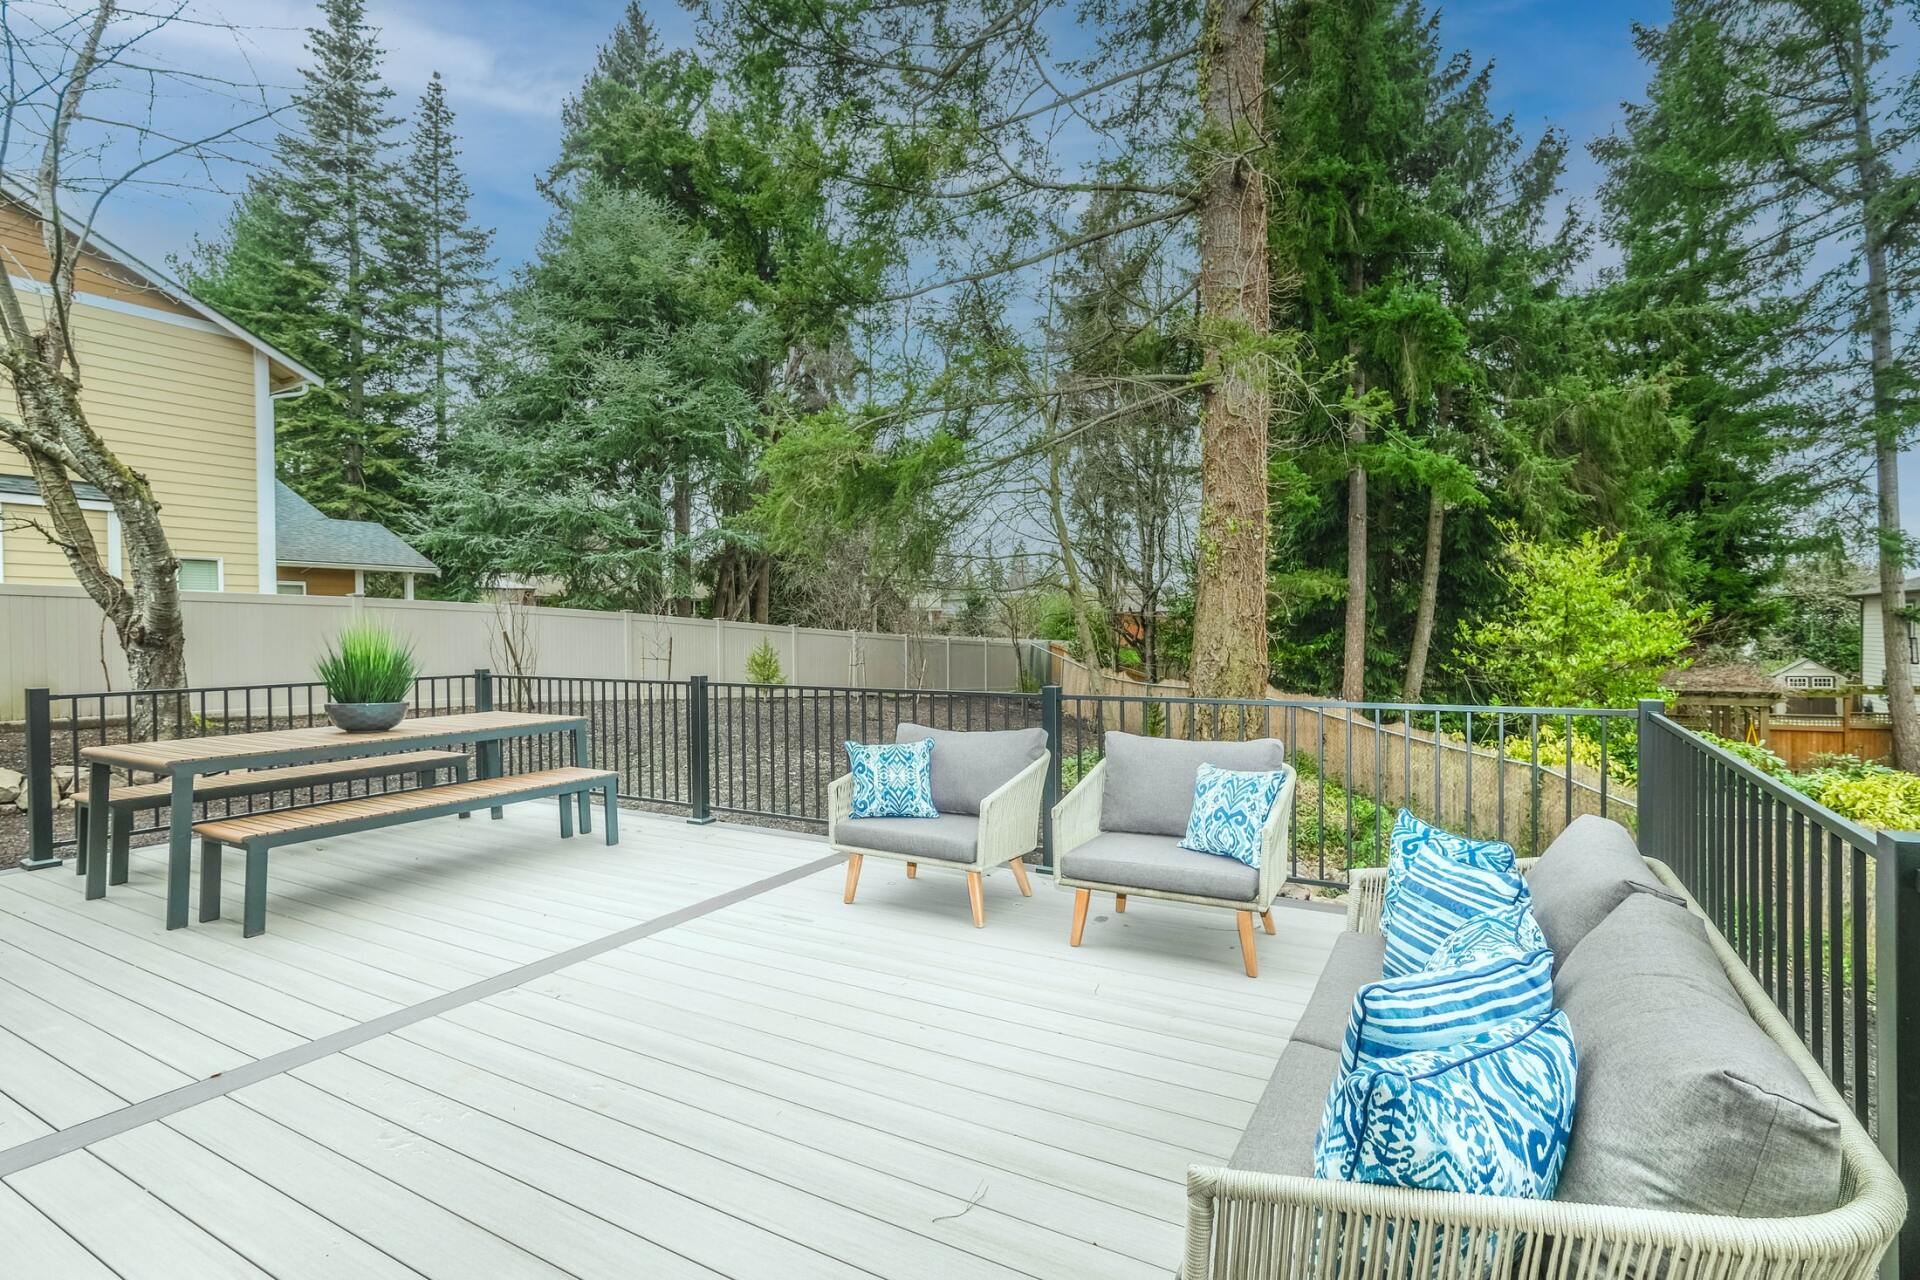
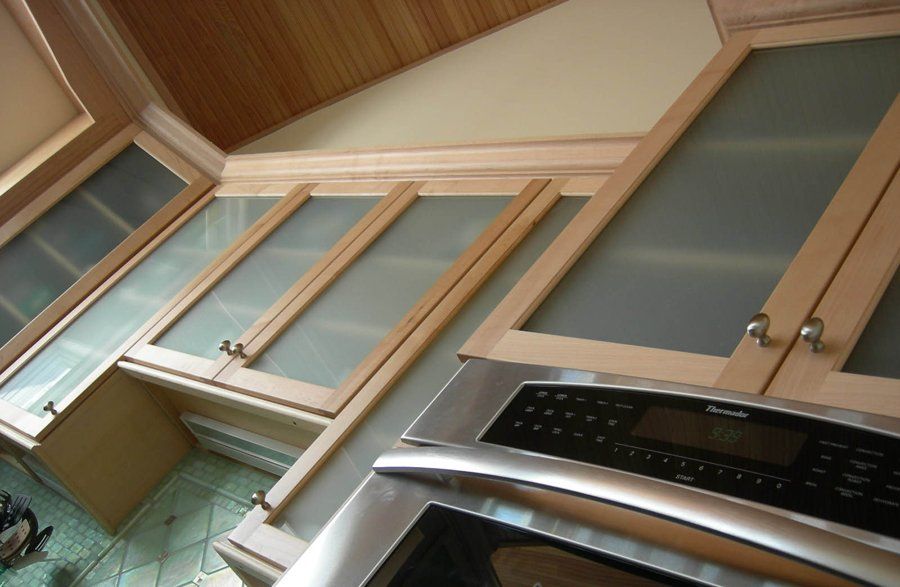
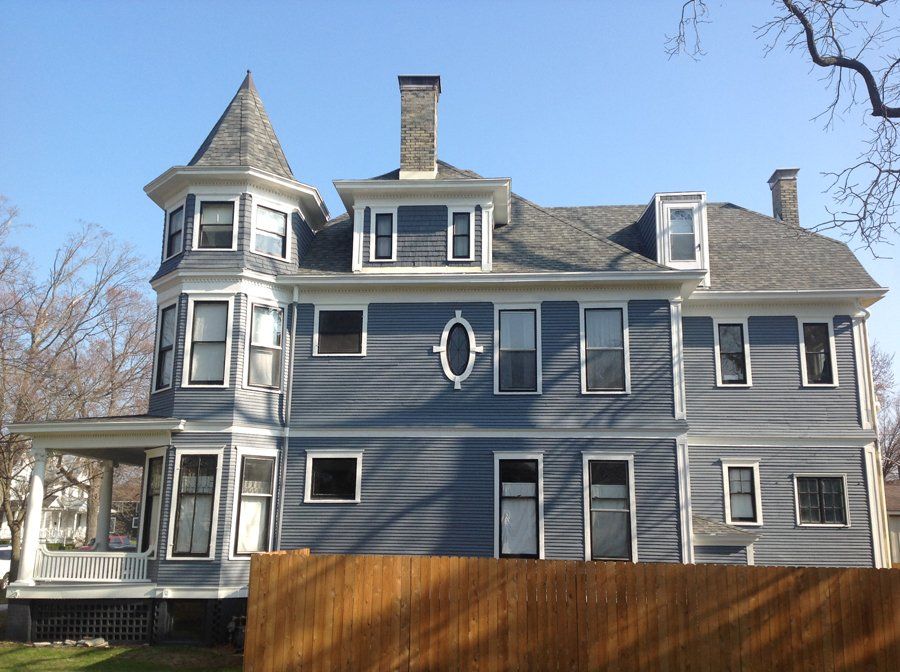
Grand Rapids Residential Renovation & Painting Services

We offer the following Residential Services to you in the Grand Rapids, MI Area

Grand Rapids Commercial Painting Services

We offer the following commercial services to you in the Grand Rapids, MI Area.

  • Factory Painting
  • Agricultural Painting
  • Churches
  • Office Painting
  • Exterior Painting
  • Concrete Floors

Why Choose Us

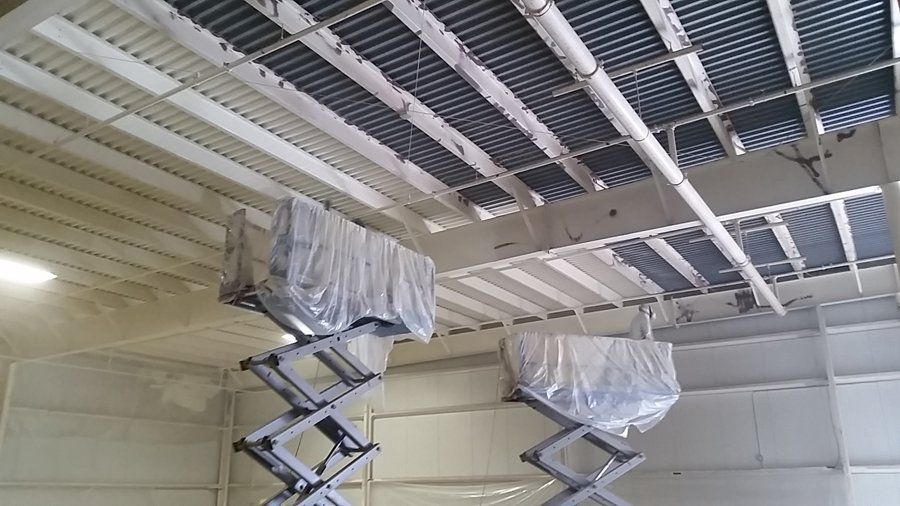
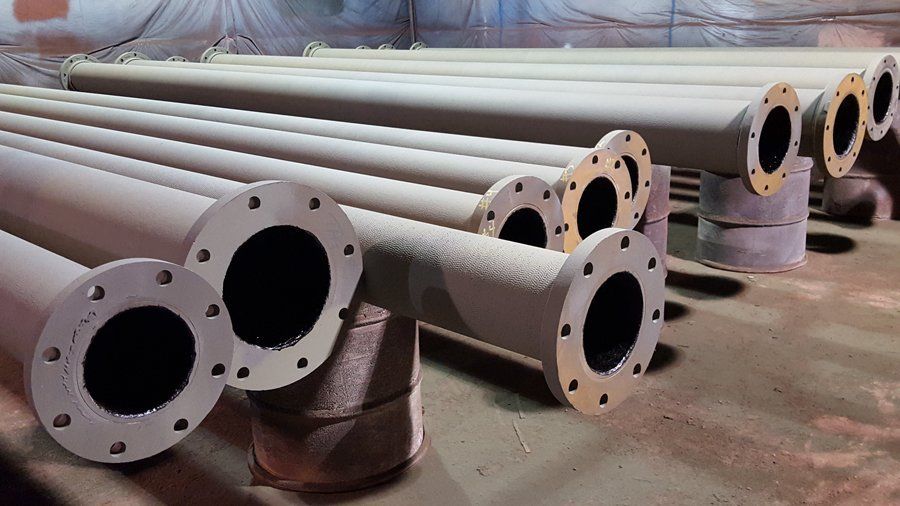
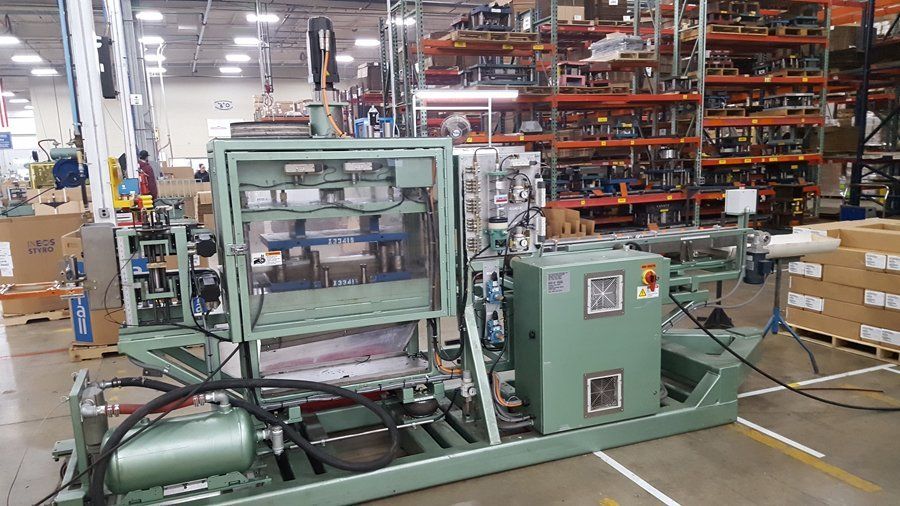
Grand Rapids Industrial Painting Services

We offer the following Shop Painting services to you in the Grand Rapids, MI Area

Certifications

VanDerKolk Painting has completed training and certification on many levels of projects. We are certified in the following areas:

●     RRP Lead Paint Removal

●     Lead Paint Abatement

●     Confined Space Entry

●     Fit Tests for respirators

●     Aerial Lift Platform Training


Please contact our office for more information.

Benefits Of Choosing VanDerKolk Painting As Your Grand Rapids Painter

A blue ribbon with a check mark in the center.

Quality Guarantee

We guarantee your satisfaction with our services by providing a warranty for all of our work. We’ll work hard to ensure you remain satisfied with the job we've performed.

A blue paint roller with a handle on a white background.

Certified Professionals

Our painters are not contractors - they are highly-trained full-time employees. Our team is certified in RRP lead paint removal, lead paint abatement, confined space entry, fit tests, and aerial lift platform training. This means you receive quality, professional work.

A blue icon of a man wearing a headset.

Exceptional Service

We'll keep you updated at every step in the project and you'll never have an issue reaching a member of our team.
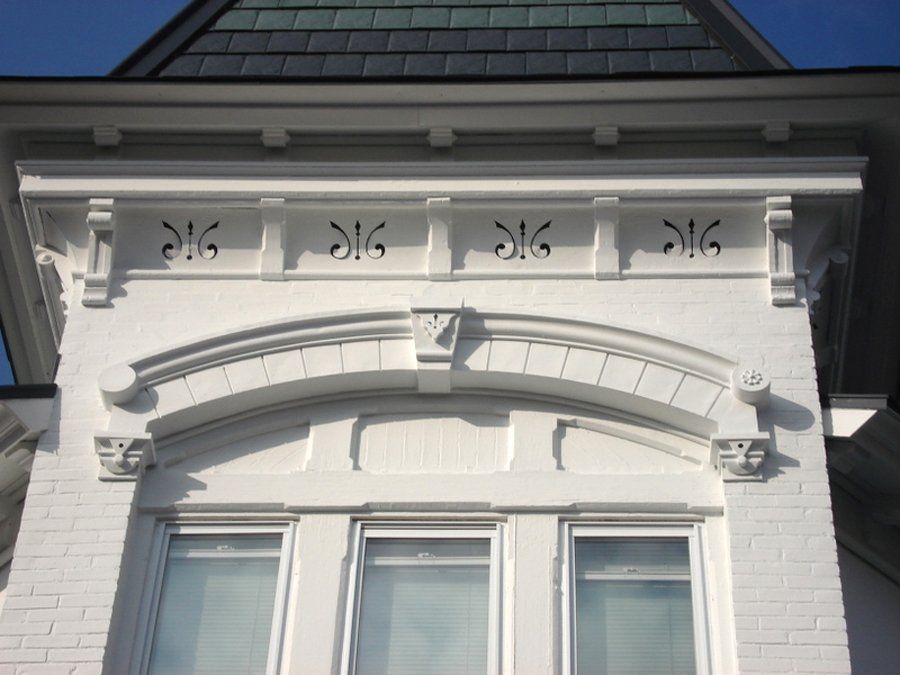
Serving Homes & Businesses Throughout West Michigan

We are the top-rated local painters near you. While we’re known as Grand Rapids painters and our shop is located in Grand Rapids, we serve much of West Michigan. Cities we regularly paint in, include:

Request Your Free Estimate 

Not all painters in Grand Rapids provide free estimates. VanDerKolk Painting offers free estimates to provide you with an accurate quote for your painting job. We’re painters and not sales professionals. When you schedule a free estimate with us, we’ll come out and review your job, provide you with an estimate, and answer any questions you may have. 


There is no obligation to choose us and there are no pressure sales tactics involved. We believe in providing honest and transparent services and that belief extends to our free estimates. You can request an estimate by clicking the button below. 


Request A Free Estimate

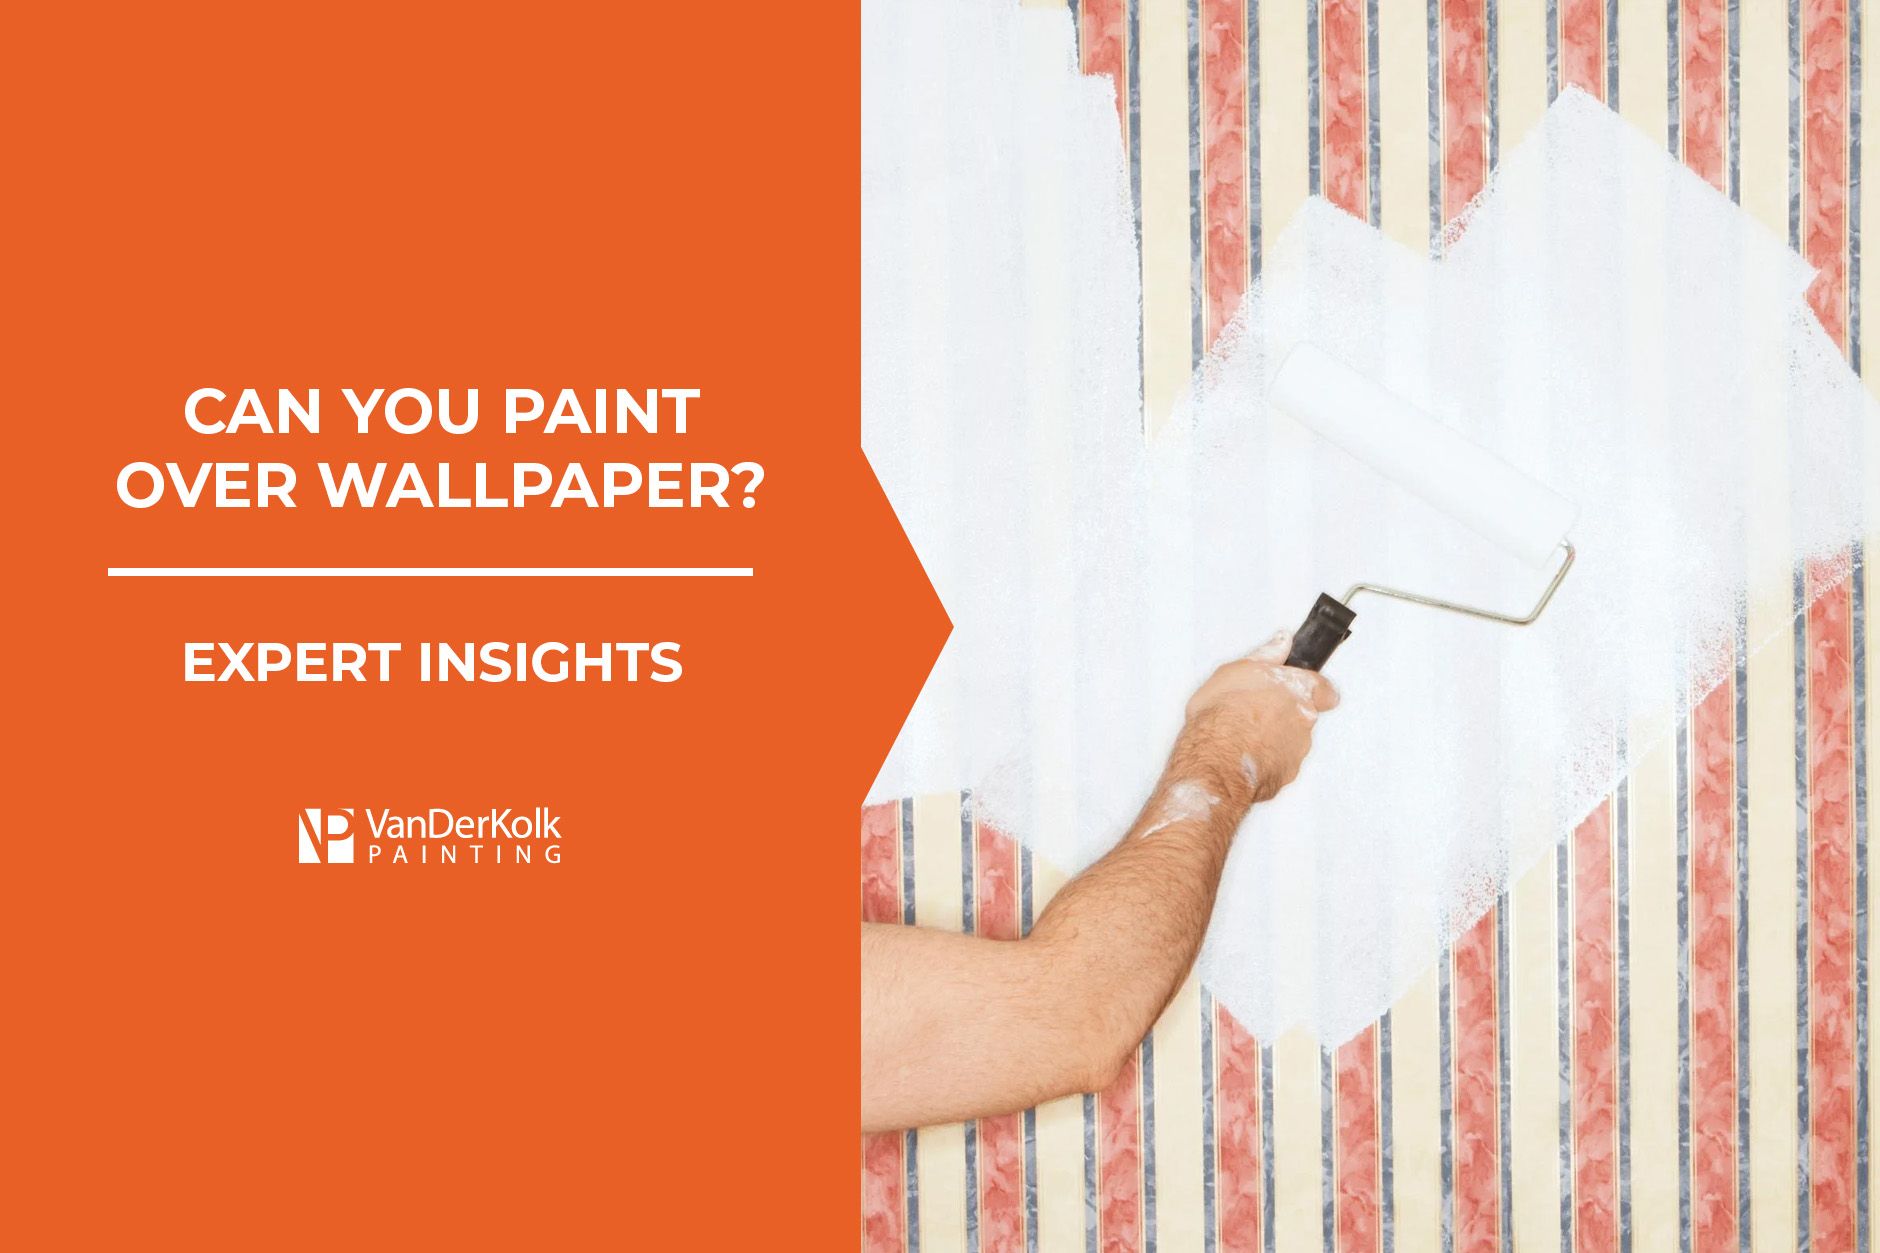
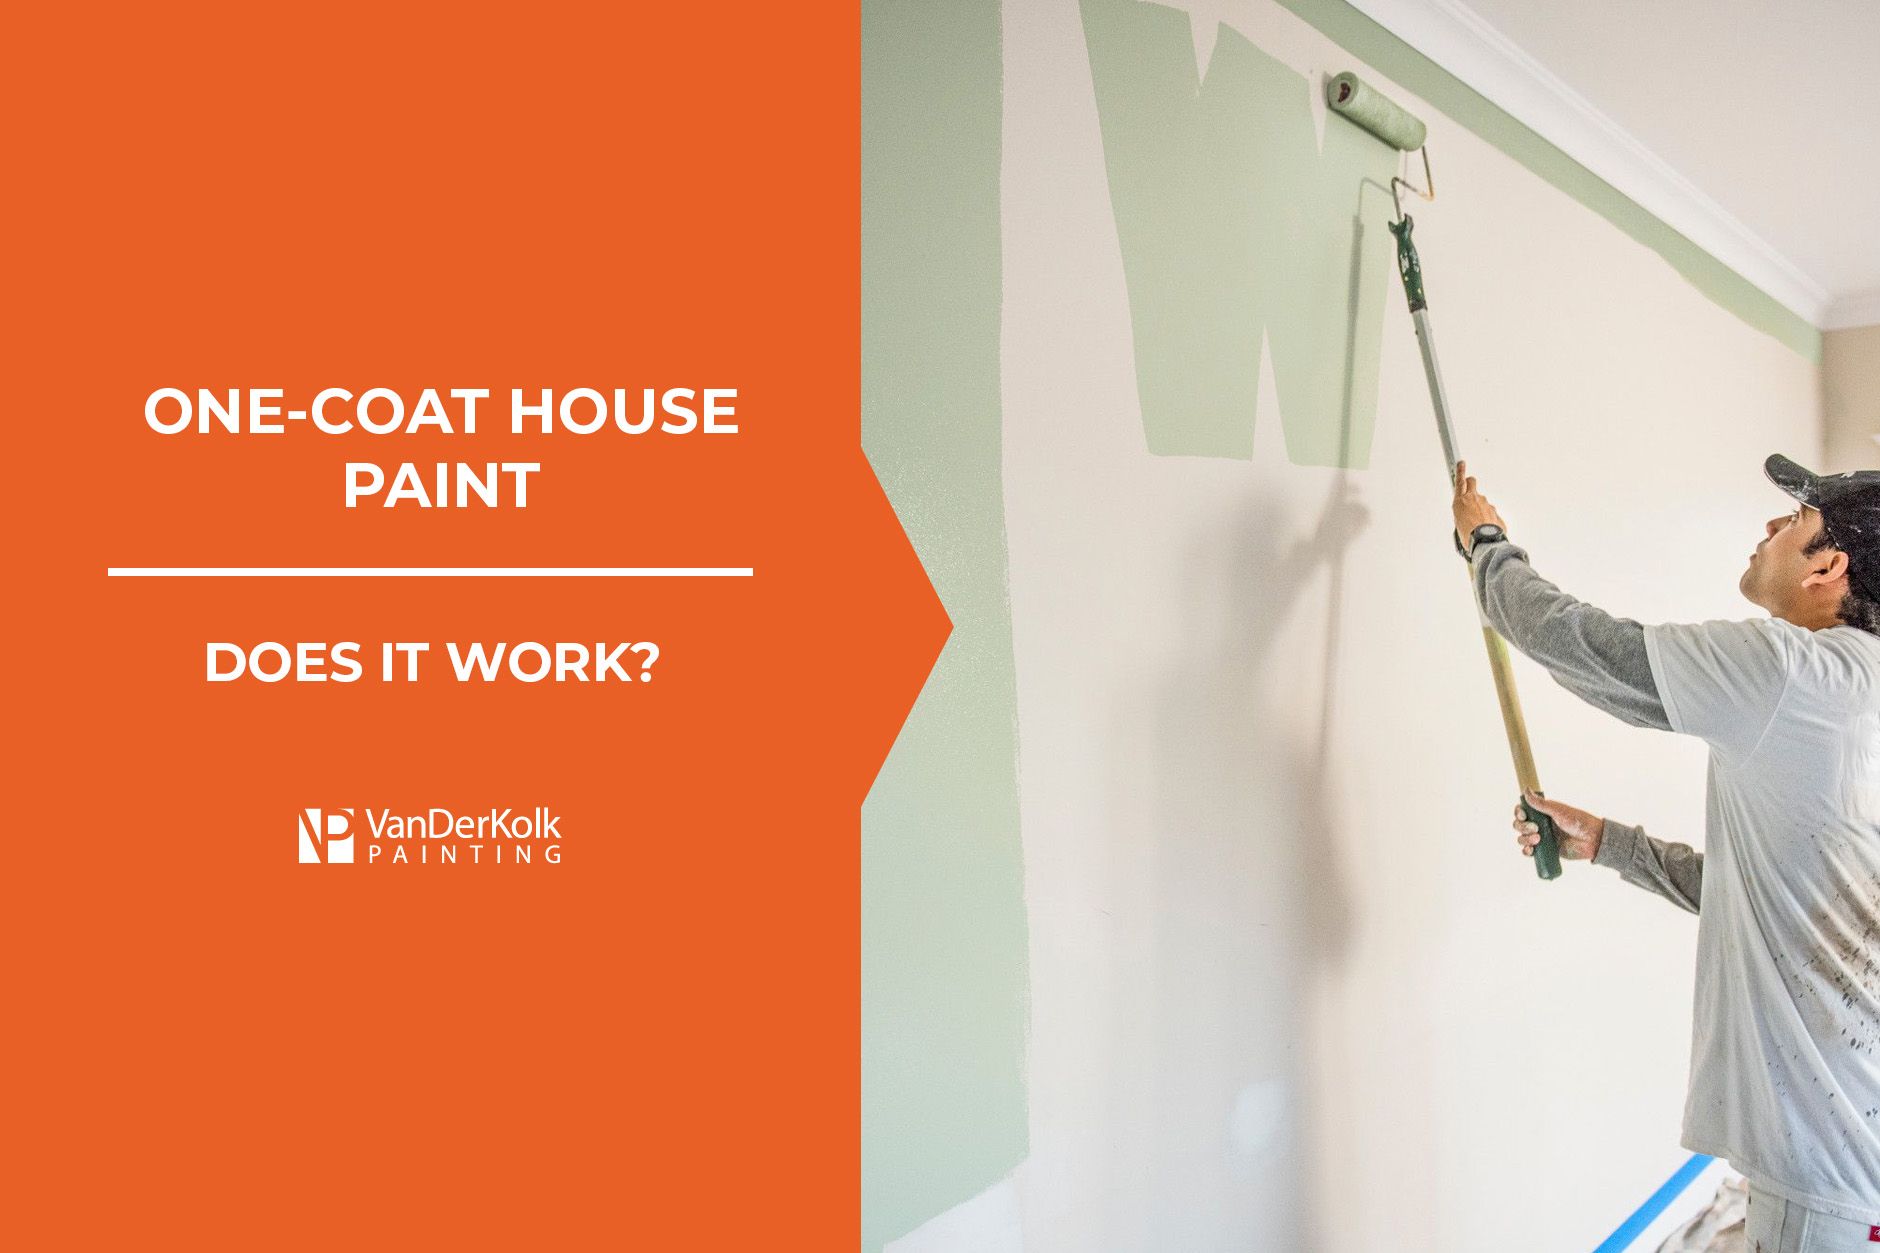
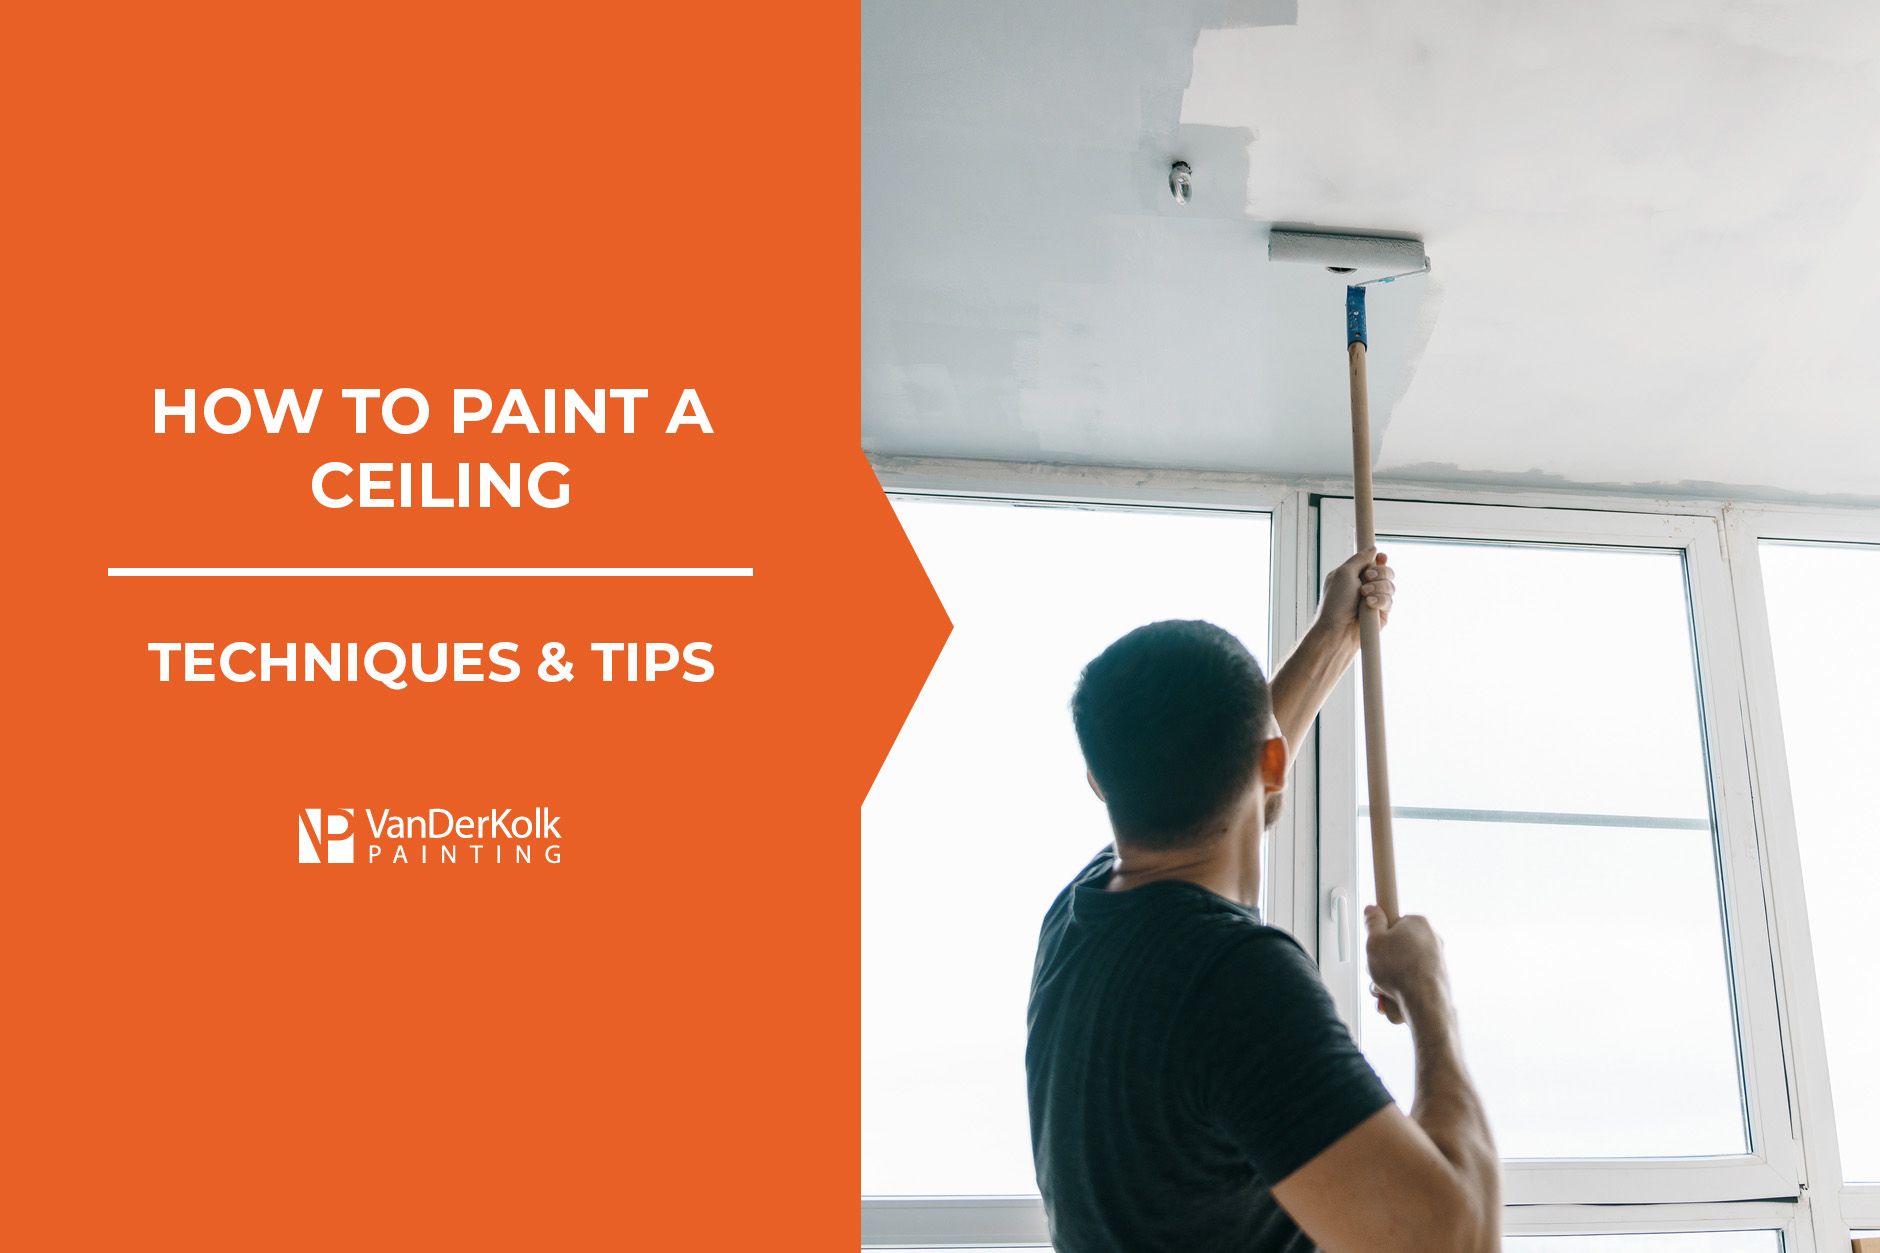
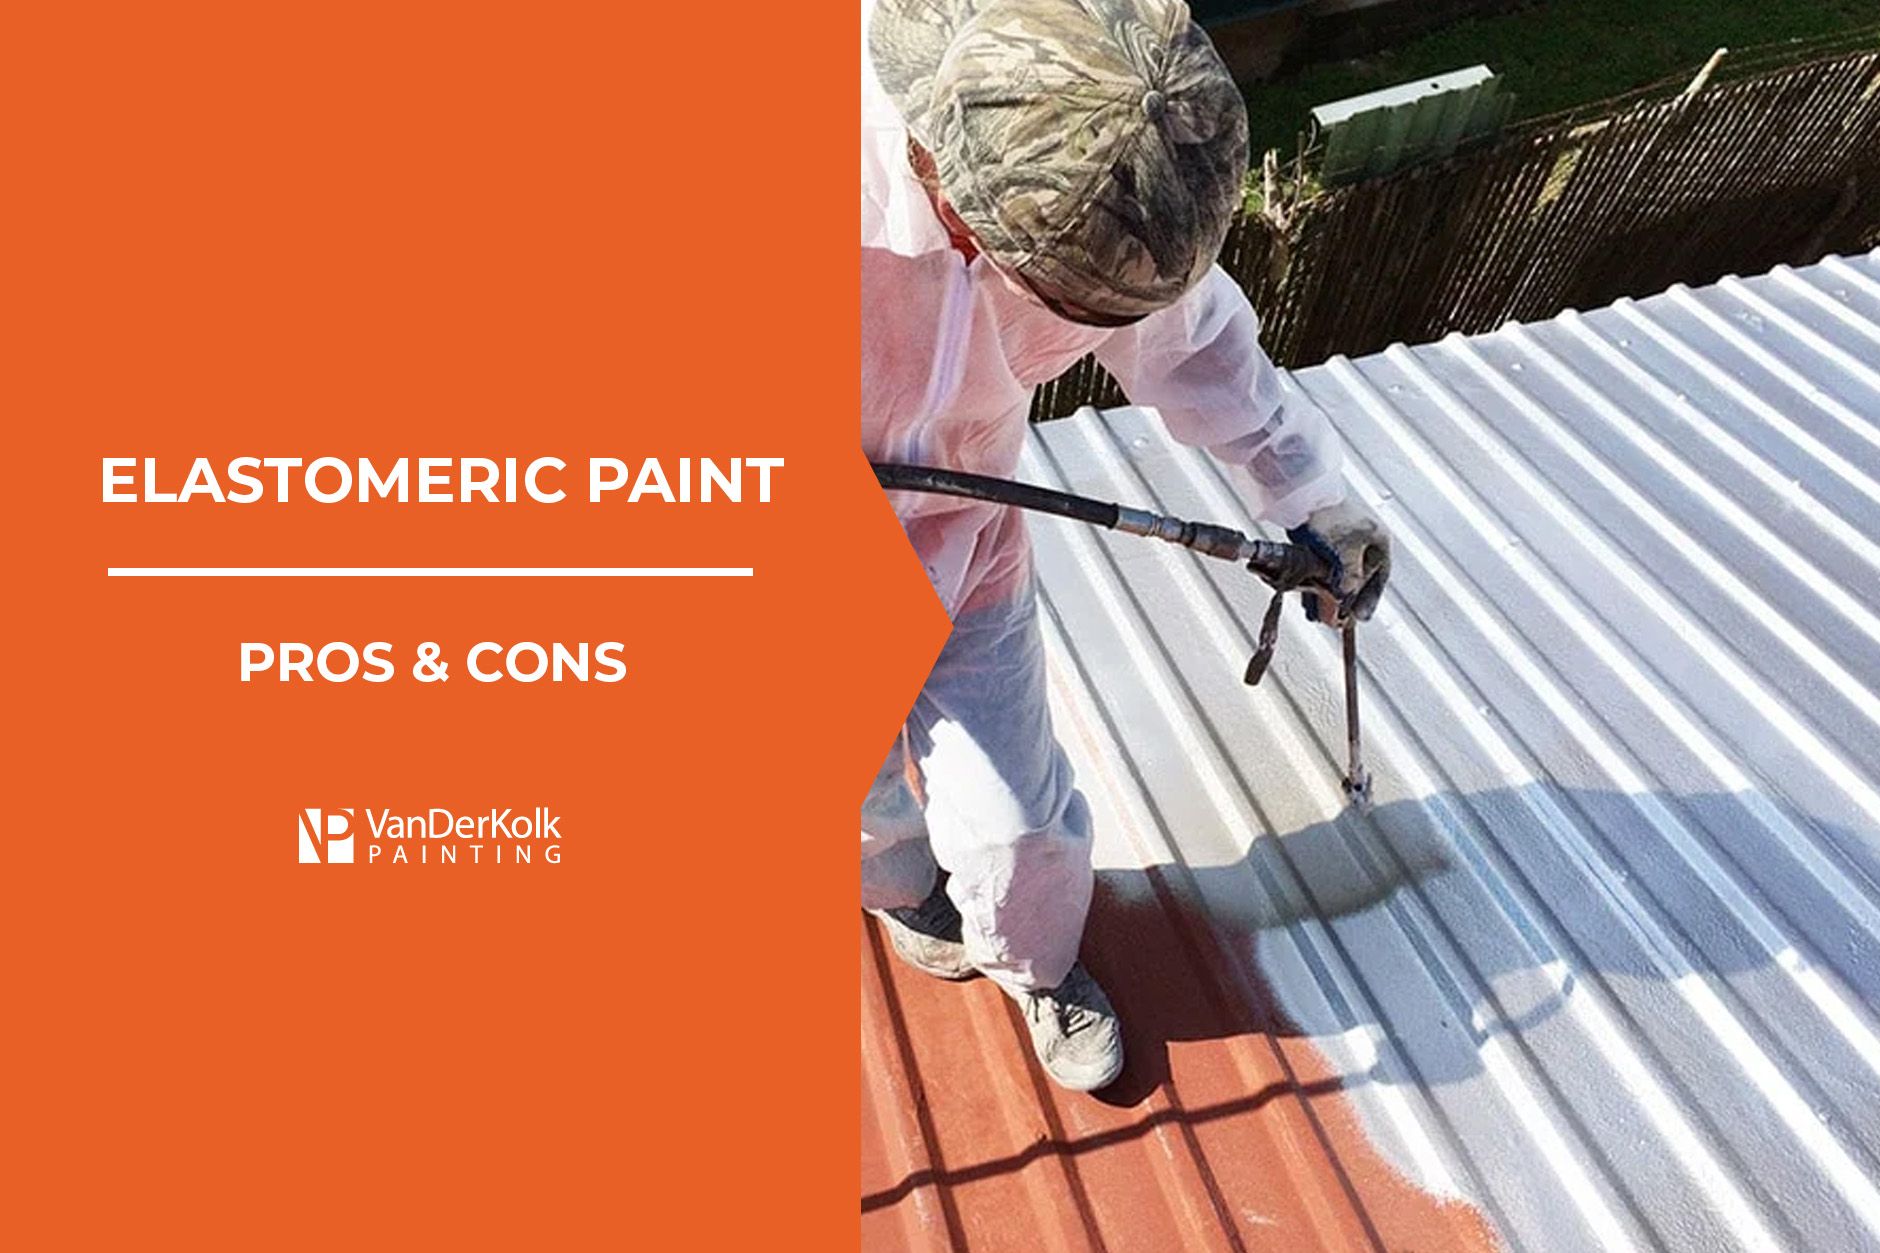
Recent Posts From Our Painting Blog

Interested in learning more about the work that goes into residential or commercial and industrial painting? You can read the latest insights, tips, and industry news straight from our painting blog.

By Thomas VanDerKolk September 8, 2025
When renovating your home or flipping an investment property, there are a lot of moving parts. And when it comes to painting and flooring, you might wonder, should you paint before or after installing new flooring? There is an order of events to ensure that all of your renovation efforts are well-coordinated and look just as good. So, when it comes to painting and installing new flooring, completing the tasks in a particular order is a must. In this article, we’ll discuss whether you should paint before or after installing new flooring, how to do it properly, and what to consider before tackling the job. Should You Paint Before or After Installing New Flooring? In most cases, it is recommended to paint after installing new flooring. (And at VanDerKolk Painting , we agree!) When you install your flooring before painting the walls, you’ll save yourself a ton of risk and preventable mistakes. Fresh paint is very fragile, so working in the room to install new flooring can cause damage, scuffs, and scratches. Why Should You Paint After Installing New Flooring? Don’t believe us about why you should wait until after installing the flooring to paint? Here are some of the benefits of following this order. Protect Your Fresh Paint When installing new flooring, there is a lot of movement and tools being used. If something rough or sharp hits your freshly painted walls, it could cause the paint to scratch, peel, or scuff. Cleaner Finish at Baseboards and Trim Painting after installing your baseboards and trim ensures a smooth and clean finish. Using painter’s tape, you can get a close and precise line along the woodwork for a perfect paint job. Easier to Color Match Sometimes the flooring in a room can completely transform the vibe. That means the paint color you initially picked out might not be suitable for the room anymore. To avoid color clashing, putting down the floor first can help you choose the perfect paint color for the room. How to Paint and Install New Flooring: The Right Way Below is a foolproof method to paint and install new flooring in your home, whether you’re renovating or having new construction done. Paint the Ceilings One of the messiest parts of renovating is painting the ceilings . This is when paint is most likely to drip on the floors. And when you paint the ceilings while the old flooring is still in place, there is no risk of ruining the new floors. When using ladders to reach the ceiling, there is a risk of scratching the floor. Of course, you should still cover the flooring with cloth or plastic to ensure an easy cleanup. Remove Old Flooring Once the ceiling is painted and dry, you can proceed with removing the old floor. This is another messy job that can bring up a lot of dust. After removing the flooring, it’s also a good time to remove the baseboard or trim, especially if you plan to repaint them. Prep the Walls for Painting Before installing the new flooring, you’ll want to prep your walls for painting. Remember how we said you’re going to intertwine your work on the painting and flooring installation—this is what we meant. With just the subflooring, you can repair any scratches or holes in the walls to ensure the surface is smooth and ready for a coat of paint. This might require some sanding as well. If you currently have wallpaper that needs to be removed , now is the time to do so. That’s another complicated part of this process that can cause a bit of a mess and should be done before anything new is installed. Install New Flooring You can finally start installing your new flooring now that the walls are prepped for paint. Usually, people will hire a professional to install flooring, especially hardwood floors. They will take care of the area and reattach the trim and baseboards once the installation is complete. The installation process can take a few days and create a lot of dust , especially for hardwood floors that require sanding. For this reason alone, it’s best to wait to apply your paint. Protect the New Floors After spending all that time (and money) on your new floors, the first thing you want to do is properly protect them. Use high-quality plastic or cloth to completely cover the floors. Tape the covering to the trim to ensure complete and proper coverage. If you’re nervous about ruining your new floors while painting, it’s a good idea to call VanDerKolk Painting. Our team of professional painters is exact and has experience working in homes in the renovation process. Related: Average Cost of Interior Painting Prime the Walls It’s easy to want to skip priming your walls, especially with all the work you’ve already put in, but it’s an important step in the painting process . Priming your walls helps the paint adhere better and become more durable, so it lasts longer. Make sure to choose a compatible primer with your paint (water-based primer with water-based paint and oil-based primer with oil-based paint). Apply two coats of primer and wait for it to fully dry before moving on to the paint. Paint the Walls It is finally time to apply your paint to the walls. This is the final step in renovating your room to completely transform and elevate it. When painting your walls, apply at least two coats of paint to ensure even coverage and a vibrant color. You can use a paint roller for large areas and a paintbrush to ensure the corners and trim are precise. Wait for the paint to dry completely before cleaning up and moving furniture into the room. What Are the Risks of Painting Before Installing New Flooring? You may be wondering why it is so important to paint after installing your flooring. There are quite a few reasons, but the first and most important is to prevent damaging your fresh paint. Paint Drops on the Subfloor Some people may think they should paint the walls after removing the old flooring, but before installing the new one. While it makes sense in theory, it can actually cause issues with the flooring installation. If paint drips on the subfloor, it can be tough to clean up. If you leave the paint on the subfloor, the new flooring may not adhere properly and cause problems over time. Damage to Paint Around Trim When new flooring is installed, the trim and baseboards are often removed and reattached for a clean, finished look. If you’ve already painted the walls, this process can damage the fragile paint around the trim. Fresh paint is especially prone to peeling or chipping, so when the trim is pulled off or nailed back into place, you may see cracks, dents, or missing patches of paint along the edges. That means you’ll have to go back and touch up those spots, undoing all your careful work and wasting valuable time. Dust and Wall Scuffs Floor installation is not a tidy job. Cutting, sanding, and fitting new flooring creates a lot of dust that can easily settle on your freshly painted walls. Even if you cover the floors and clean carefully, fine dust has a way of sticking to wet or recently cured paint, leaving marks and dull spots. Additionally, floor installation requires moving large pieces of material in and out of the room. It’s easy for tools, planks, or even shoes to scuff up the walls as the new flooring goes down. Those scuffs can ruin the smooth finish you worked so hard to achieve and usually require extra touch-ups. Moisture and Curing Issues Paint may feel dry within a few hours, but it actually takes up to three weeks to fully cure . During that time, the paint is still soft and vulnerable to damage. Installing new floors often involves adhesives and materials that release moisture into the air. That extra moisture can interfere with the curing process. Instead of hardening properly, the paint may bubble, peel, or lose its smooth finish. Not only does this ruin the look of your freshly painted walls, but it can also mean redoing entire sections of the job. Can You Ever Paint Before Installing New Flooring? In most cases, it’s best to wait until after the new flooring is installed before painting. But there are a few exceptions. If you’re putting in flooring like tile or linoleum, painting beforehand can sometimes make sense. That’s because these types of flooring are typically installed with grout or adhesive that stays below the surface, so there’s less risk of damaging the paint during installation. Even then, you’ll want to take extra precautions to protect your walls from tools, dust, and movement. As a general rule, painting after the floors are installed will give you the cleanest, most professional-looking results. Should You Hire Professional Painters When Renovating? Yes, hiring professional painters is almost always the smarter choice during a renovation. While painting might seem like a DIY-friendly project, big renovation jobs come with challenges that are best handled by experienced professionals. Professional painters know how to work around new flooring, trim, and other freshly installed features without causing damage. They also bring the right tools, techniques, and protective coverings to keep your investment safe. Professionals can deliver a higher-quality finish in less time. Instead of spending your weekends trying to get even coverage or stressing over paint lines, you can trust the job will be done right the first time. In the end, hiring painters saves you time, reduces risk, and ensures your newly renovated space looks polished and complete. No Matter the Paint Project, VanDerKolk Painting Is Here to Help! Whether you’re renovating your home or upgrading a commercial space, VanDerKolk Painting is here to make the process easier. Our team has the experience and precision to handle projects of any size, from a single room refresh to large-scale commercial jobs. We proudly serve homeowners and businesses throughout the greater Grand Rapids area, delivering professional results that last. No matter the scope of your project, you can count on us for a smooth, clean finish every time. Ready to get started? Fill out our online form today to get a free estimate and let VanDerKolk Painting bring your vision to life.
By David Kranker August 5, 2025
As you stand in front of your kitchen cabinets or wooden fence, you’re faced with the age-old question, “Should I paint or stain wood?” It’s a conundrum that many homeowners face when it comes to refreshing a wooden item, either in their house or on their property. And the answer isn’t as simple (or maybe it is) as you might think: you can use either! But here’s where it gets a bit complicated. Paint and stain each have their pros and cons that they bring to the table. That means deciding which to use requires a bit of research or a discussion with a painting professional at VanDerKolk Painters . We’ve got you covered. By the end of this blog post, you’ll know all about paint vs. stain when it comes to wood, so you can make a more informed decision for your next project. Paint vs. Stain: What’s the Difference? Your first instinct might be to wave your hand and think that paint and stain are essentially the same. That’s where you’re wrong. Paint is formulated to sit on top of the wood and create a solid, opaque layer. It hides the grain completely and generally provides stronger protection from moisture and UV rays. However, paint is more likely to chip or peel over time if it is not applied correctly. Stain, on the other hand, soaks into the wood and enhances the natural grain rather than covering it for a more natural look. It comes in various opacities, including clear, semi-transparent, and solid. Stain also requires less prep work than paint and is less likely to peel and crack. It can offer some protection to the wood against UV rays and moisture. The main difference? Paint allows you to choose bold colors to fully cover the wood, while stain highlights and enhances the wood’s natural appearance. Paint for Wood Projects Paint is a great choice for wood projects that you want to fully transform using an opaque color while also adding a protective barrier. Advantages of Using Paint on Wood There are many advantages to using paint on wood projects. Wide Color Variety: You can choose from thousands of paint colors to use on your wood project, ensuring it matches your home’s interior or exterior aesthetic. UV Protection: Modern paint formulas contain UV inhibitors to prevent the paint from fading, while also protecting the wood beneath it. High Durability: Paint completely seals the wood, creating a thick, solid layer that blocks out moisture, mildew, and dirt while preventing issues like fading and discoloration, rot and mold, and cracking or warping from the weather. Conceals Flaws: Paint can cover knots, stains, and grain patterns in wood, which also helps protect against damage from wear and tear, especially in high-traffic or high-touch areas. Disadvantages of Using Paint on Wood As with everything, there are some disadvantages to consider when using paint on wood surfaces. Peeling Over Time: While paint is durable, it can peel over time due to poor surface preparation, the combination of incompatible paint and primer, moisture, and natural aging and wear. Hides Natural Grain: If you want to maintain the natural look of wood and see the natural grain pattern, paint will cover it up completely, providing a solid colored surface. Requires More Preparation: Painting wood requires you to put in more prep work, such as cleaning and repairing the surface, sanding, priming, and adding multiple coats of paint. Related: How Many Coats of Paint Do I Need? A Simple Guide for Surfaces and Paint Types Types of Paint to Use on Wood Choosing the right type of paint for your wood project can ensure longevity, durability, and a professional-looking finish. Acrylic Paint Acrylic paint is a versatile, water-based option ideal for both indoor and outdoor wood surfaces. It offers strong adhesion, especially with proper priming, minimizing the risk of peeling or flaking. Its flexibility allows it to expand and contract with the wood, protecting against cracking due to temperature and humidity changes. Acrylic also resists UV rays and moisture, helping preserve both color and wood integrity. With low VOC content , it’s a safe and eco-friendly choice for interior projects. Related: Acrylic vs. Latex Paint: Which Should You Choose? Oil-Based Paint Oil-based paint is highly durable, making it ideal for exterior wood and high-traffic areas. It adheres well and creates a hard, smooth finish that resists wear. Compared to acrylic, it offers superior water resistance, making it a great choice for moisture-prone spaces, like bathrooms or trim work. However, it has a long drying time (8 to 24 hours per coat) and high VOC levels, so it’s best used outdoors or in well-ventilated areas. Alkyd Paint Alkyd paint combines the strengths of acrylic and oil-based paints, offering a smooth, durable finish ideal for wood in high-traffic areas. It resists scratches, scuffs, and moisture, with strong adhesion to wood surfaces. While it has higher VOCs than acrylic (but lower than oil-based), proper ventilation is still necessary. Expect a longer drying time, typically 8 hours or more between coats. Stain for Wood Projects If you’re looking for a quick weekend project that will enhance your wood surface, then stain is the way to go. Advantages of Using Stain on Wood There are many advantages of using stain on your wood surface. Enhances Natural Grain: If you want to maintain the natural wood look but would like to enhance the richness of the color, then stain is the answer. Easy to Apply: Stain requires less surface prep, no primer (usually), and typically requires fewer coats. It also has a faster drying time than paint. Protects Wood: Stain offers protection without hiding the natural beauty of the wood by keeping out UV rays, moisture, and mildew, especially when sealed with a topcoat. Disadvantages of Stain on Wood While stain is easy to use on wood surfaces, it does come with a few drawbacks to consider. Limited Color Range: Stains are available in natural wood tones and muted shades, which may be a drawback if you prefer vibrant or modern color schemes for your wood project. Doesn’t Hide Flaws: Since stain soaks into the wood and enhances the grain, it will highlight flaws in the wood like knots, cracks, and patchy grainy patterns. Difficult to Change Later: Once you stain wood, it’s difficult to go back and paint or re-stain it in a different color, especially if the stain was dark or oil-based. Requires Frequent Maintenance: Lighter or transparent formulas may wear off faster than paint and require application every 2 to 3 years. Types of Stains to Use on Wood Choosing the type of stain to use on your wood project can significantly impact its performance over time. Water-Based Stain Water-based stains are easy to apply, dry quickly (in 1 to 2 hours), and clean up with just soap and water. They’re ideal for indoor or outdoor use, often containing UV and mildew protection for exterior projects. With low VOCs, they’re also eco-friendly and safe for interior applications. However, they don’t penetrate wood as deeply as oil-based stains, offering slightly less protection. They can also raise the grain in the wood, requiring light sanding after application. Oil-Based Stain Oil-based stain is a durable, time-tested choice for wood, especially outdoors. It penetrates deeply into the grain, offering long-lasting protection by repelling water and preventing swelling, warping, and rot. Known for rich, warm tones, it’s ideal for aging wood or restoration projects like decks, fences, and siding. However, it has a slow-drying time (12 to 48 hours) and high VOCs, so it’s best used outdoors with proper ventilation. Gel Stain Gel stain is a thick, non-drip formula that offers excellent control, especially on vertical or uneven wood surfaces. It’s ideal for woods like pine, birch, or cherry that absorb stain inconsistently. It delivers a smooth, uniform finish by sitting on the surface rather than soaking into the wood. Great for beginners, it’s easy to apply and is forgiving. However, it requires at least 24 hours to dry and must be sealed with a top coat. It also mutes the wood grain more than traditional stains. How to Choose Between Paint and Stain Both paint and stain are excellent choices for enhancing a wood project, but there are several factors to consider when choosing which one to use. Aesthetic Goals Paint and stain on wood look very different from each other. So, your desired aesthetic for your project can determine which you use. Paint provides an opaque layer that covers the natural grain of the wood. You also have many color options, ranging from neutral to bold and vibrant. Stain keeps the wood’s natural texture and grain, enhancing the color and richness of its appearance. This is ideal for those with a more rustic, polished, or antique aesthetic. Durability If you’re painting a high-traffic or high-touch item such as trim, doors, or cabinets, paint is likely more durable than stain. However, stain will not peel or crack like paint can over time or due to improper painting preparation. Overall, paint tends to last longer and withstand more traffic and elements than stain, but both are durable in their own ways. Maintenance How willing are you to maintain the finish of your wood surface? Stain may require touch-ups or re-staining every 2 to 3 years, depending on the environment. However, touch-ups for stains are considered easier than touch-ups for paint. Paint may require touch-ups every 5 years or so due to peeling or cracking. However, there are ways to prevent this from happening. Check out our blog post Causes of Peeling Paint and How to Fix Them for more information. Budget and Timeline Overall, paint tends to be more expensive and involve more labor and preparation than using stain. To stain, it usually takes 1 to 2 days, while painting can take 2 to 4 days for exterior jobs. So, if you’re looking for a cost-efficient and quick way to protect and elevate your wood, stain is the best option. Expert Recommendations for Common Wood Projects
By David Kranker July 8, 2025
As the weather starts to warm up and days grow longer, many Michigan residents spend more time outdoors, particularly on their decks. This outdoor space has the potential to become an oasis in your backyard - a serene spot to enjoy your morning coffee or chat with friends and family. But the first step to making a luxurious outdoor setting? Painting your wood deck. It seems like a daunting project, painting your wooden deck. This is especially true if it’s already been painted and you notice it’s starting to chip. But you can give your wood deck new life in just a weekend! If you decide to paint your wood deck, there is a proper process to follow to ensure a long-lasting paint job. It’s hard work, you want it to last as long as possible. That’s why we’re sharing a complete guide about how to paint a wood deck. Or you can get the professionals at VanDerKolk Painting to do it for you, so you can relax and actually enjoy your weekends. We’ll handle everything from prep to paint to clean up, leaving you with a beautifully painted deck. How to Paint a Wood Deck Painting a wood deck is more than just choosing a color and slapping a coat on your wooden boards. It requires preparation, selecting the right paint, and a strategic approach. Step 1: Remove Any Debris As an outdoor space, your deck can get quite dirty. Before you begin your painting project, it’s important to remove any debris, such as bird droppings, leaves, dirt, berries, and more. Step 2: Make Necessary Repairs If your deck is older, you may need to repair or replace rotting or cracked wood. This is also a great time to see if any boards need tightening to keep the integrity of your structure for years to come. Step 3: Sand the Wood Sanding down the wood allows you to remove any rough surfaces and edges that might cause splinters, but also prevents the paint from adhering properly. For newer decks that are in good shape, it’s a good idea to use sandpaper or a sanding block to smooth out edges and remove any old paint. For older decks, you could use a power sander to get a nice, smooth surface while eliminating splinters. Step 4: Wash the Deck Once all of the old paint is removed and the wood is sanded, it’s time to wash the deck and remove any mildew , stains, and dirt. You can do this either with a pressure washer set to a gentle setting or with a wire scrub brush with warm, soapy water. Now, it’s time to wait until the deck fully dries. This could take 24-48 hours, depending on the weather conditions. Step 5: Prepare the Deck to Paint Once the deck is completely dry, use painter’s tape to tape off areas where you do not wish to paint. Cover any plants or furniture in the area to avoid dripping or splashing paint. Step 6: Apply the Primer It’s always a good idea to apply one or two coats of primer to your wood deck, especially if it's new or bare wood, before painting. Primers help paint adhere to the surface better and last longer. Plus, the paint will be more evenly distributed and have a more opaque color. Wait until the primer is dry, usually around one to four hours. Step 7: Apply the Paint Using a paint roller, apply two or three coats of paint to your deck in large areas. For smaller, narrower areas, such as banisters and railings, apply paint with a paintbrush. It’s essential to wait until the previous coat of paint has dried according to the manufacturer’s instructions before applying another coat. This will prevent the paint from bubbling, peeling , or looking uneven. Step 8: Allow Paint to Dry Completely Before you start moving any furniture or plants back onto your freshly painted deck, allow the paint to dry for at least 24 to 48 hours. This will ensure your paint job stays pristine and that all of your hard work pays off for you to enjoy. What Kind of Paint to Use on a Wood Deck The secret to a long-lasting and beautiful painted wooden deck is choosing the right type of paint. Since it’s an outdoor space, you’ll want to choose a paint that can withstand the harsh Michigan weather and direct sunlight. When painting a wood deck, there are two types of paint we would recommend: Acrylic Paint - This water-based paint is excellent for holding its color during extreme weather and sunlight and is also resistant to cracking and peeling. Oil-Based Paint - This type of paint is known for being extremely durable, especially in harsh weather, and creates a strong barrier to prevent moisture from reaching the wood. While we have mentioned the dangers of VOC levels in oil-based paint , using it outside is less harmful than using it indoors. When Is the Best Time to Paint a Deck? The best time to paint your deck is in the late spring or early fall to ensure you have sunny, dry weather. Before you plan to paint, check the weather to ensure rain is not expected for at least 48 hours, allowing the paint to dry properly. The outside temperature should also be between 50°F and 90°F with low humidity. Now, in Michigan, it can be tricky to get a day when the humidity works in your favor. Check out our blog post for insider tips on how to paint in high humidity and make your paint last! Lastly, the best time of day to paint your deck is when the deck is in the shade. If you paint it in direct sunlight, it could cause the paint to dry too quickly. Depending on the position of your home, this could be in the early morning or late afternoon. What is the Best Color for a Deck? The key to choosing a color for your deck is to find one that complements the color of your house exterior . Some of the most popular deck colors include shades of brown, gray, beige, tan, and black (but be cautious if it receives direct sunlight), as well as natural wood colors. How Long Will a Painted Deck Last? It takes a lot of work to paint a wood deck, so you’re probably wondering how long your hard work will last. The answer is 3 to 5 years if you properly prepped the surface before painting. To get the most life out of your painted deck, it’s a good idea to keep it clean of debris often, giving it a good sweep to get rid of dirt. With each season, try to give your deck a good washing to remove any mildew that may start to grow. And lastly, check for chipping or peeling at least once a year. You can tell if your deck needs a fresh coat of paint if you notice chipping, cracking, or peeling. Is it Better to Paint or Stain Your Deck? There are two camps when it comes to the painting vs. staining of a wood deck. One school of thought is that paint actually protects the wood of your deck, helping it last longer . You also have a wider variety of colors to choose from, and it lasts longer. The second is that wooden decks should be stained to preserve the natural appearance of the wood. However, the stain only lasts 2-3 years, and you are limited to brown and neutral colors. In reality, the choice is entirely up to you! Both painting and staining your wood deck can enhance your home’s curb appeal and increase your property value over time, which is excellent news if you plan to sell. And don’t worry, VanDerKolk Painting can do both! Enhance Your Curb Appeal with VanDerKolk Painting Adding a coat of paint to your wood deck can make a world of difference when it comes to boosting curb appeal and giving your home’s exterior a desired aesthetic. But you don’t have to spend your weekends crouching down to sand your deck or climbing up on high ladders to paint the railings. That’s what VanDerKolk Painting is here for! Our team of painting professionals has been serving the Grand Rapids area for over 30 years, helping Michigan residents paint the exteriors of their homes. Whether you want to paint or stain your deck, we’re here to give you a pristine and long-lasting paint job that you’ll be proud of. So you can have your weekends back. Request your free estimate for your exterior painting project today!
types of paint primer: which primer is best
By David Kranker June 11, 2025
Not all primers are the same. There are various types of primer to choose from, and selecting the right one can make or break your project.
eggshell vs satin paint
By David Kranker June 5, 2025
Trying to decide between eggshell and satin paint for your next interior project? The right finish can make or break the look of a room.
can you paint vinyl siding
By David Kranker May 14, 2025
It is possible to paint vinyl siding, and painting can be much more affordable than replacing siding.